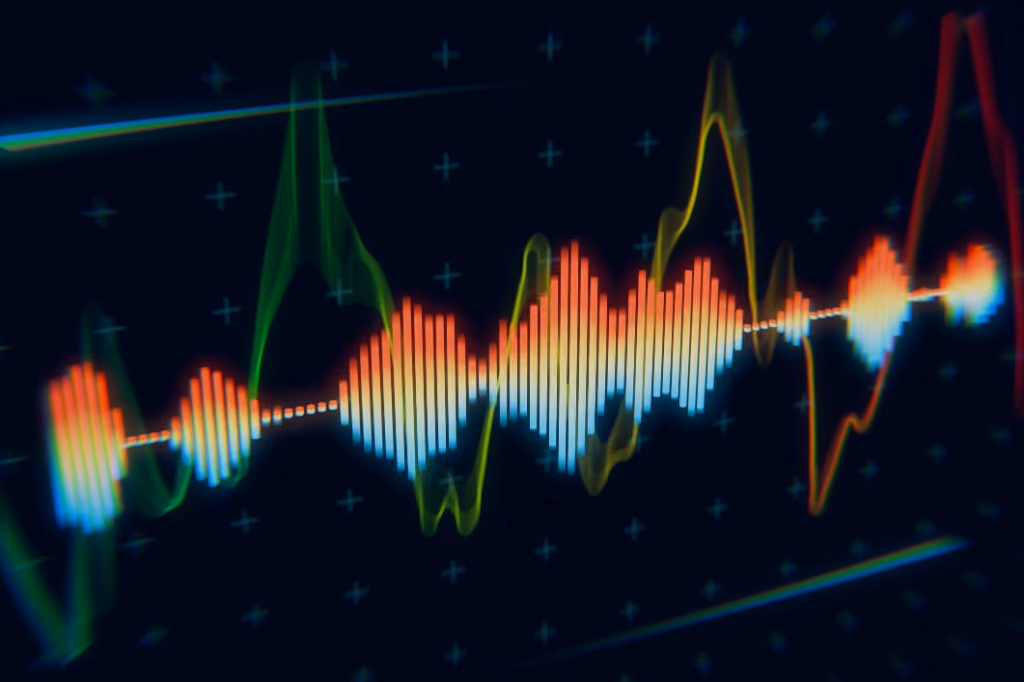
Tape DSP models what happens as audio is recorded to and played back from a reel-to-reel machine, capturing the interactions that shape tone, dynamics, and depth. Here’s what happens when you hit Process.
A physically modeled signal chain
Rather than one effect, the engine is a sequence of modeled stages, each contributing a piece of the familiar tape sound:
1. Magnetic warmth & harmonics
As level increases, tape can’t magnetize linearly forever — it gradually compresses and generates new harmonic content. This is the core of tape “warmth”: a blend of harmonics that adds density and perceived loudness without the brittle edge of digital clipping. Drive it gently for subtle color, or push it for obvious grit.
2. Head bump & low-end character
Real machines have a speed-dependent low-frequency bump caused by head and tape geometry. It’s why tape can make bass feel bigger and more solid. Because it’s tied to tape speed, slower speeds and faster speeds color the low end differently.
3. High-frequency roll-off
Tape naturally rolls off the extreme top end and softens transients. In a world of hyped, brittle digital highs, this is often exactly what a mix needs to feel smooth and easy to listen to.
4. Wow & flutter
Tiny, organic variations in tape speed add subtle movement and a sense of life. Used lightly it’s almost subconscious; pushed further it becomes a deliberate lo-fi, vintage character.
5. Tape compression
The medium itself compresses dynamics gently as it is driven, gluing elements together — the “everything sounds like it belongs” quality that’s hard to get from a plain compressor.
Clean where it counts: oversampling
Driving tape generates harmonics, and harmonics can create aliasing if you’re not careful — that’s the unpleasant, inharmonic “digital” distortion. Tape DSP processes with oversampling so the added harmonics stay musical instead of folding back into the audible band as harshness.
Hear it honestly: level-matched A/B
Tape usually raises perceived loudness, and louder almost always sounds “better” at first. Tape DSP gives you an instant, level-matched A/B compare plus analyzer readouts for RMS, peak, and integrated LUFS, so you’re judging tone — not a volume bump.
Print-ready output
When you’re happy, export to 32-bit float, 24-bit, or 16-bit WAV with studio-standard TPDF dither and true-peak awareness. Whether you’re bouncing a stem to keep working in your DAW or printing a final master, the output is ready to use.
That’s the short version of a deep topic. The takeaway: the sound comes from modeling real behavior, not a one-size-fits-all distortion — which is why it reacts to your material the way analog gear does. Try it on a mix in the studio and watch the analyzer while you A/B.