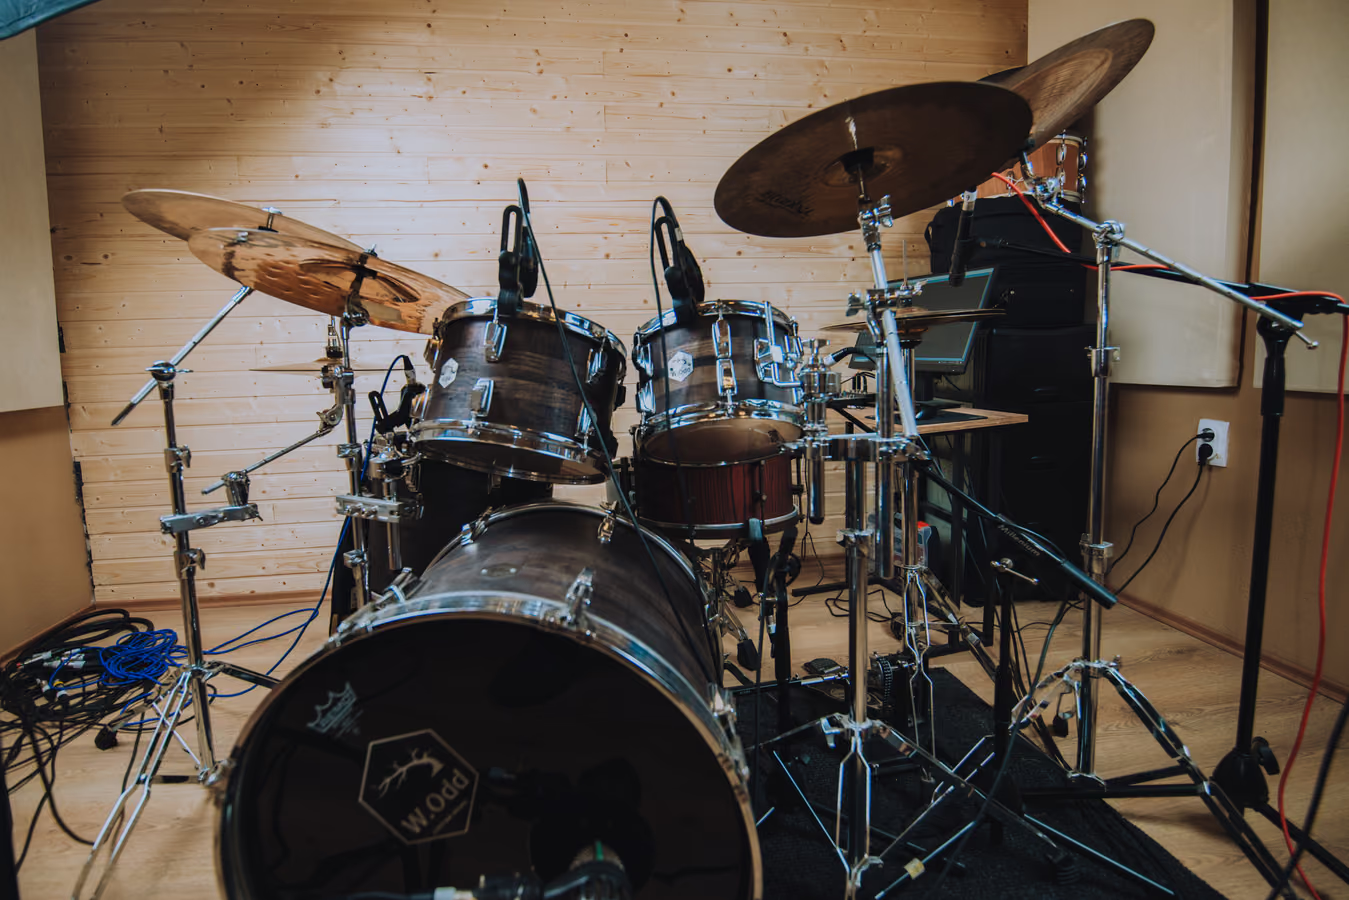
A programmed beat can be technically perfect and still feel stiff — a stack of samples instead of a kit in one room. Run the drums through analog tape and you get punch, glue, and cohesion in one pass.
What does tape do to drums?
Three things at once: gentle compression that glues hits together, harmonic character that adds weight and grit, and a slight rounding of the hardest transients so they land with punch. Together they make a programmed beat feel played.
How to process a drum bus with tape
- Print a drum bus or loop — bounce the kit or beat to a single WAV.
- Start moderate — drums take more drive than a lead vocal before it gets obvious.
- Listen for glue first — the kit should start to feel like one instrument.
- Push for grit if you want attitude — heavier settings add a punchy, lo-fi smear.
- A/B at matched level so you hear punch and glue.
Hear it before you read more
Download the pack, or play the before and after samples.
Punch vs. glue: which setting?
For punch, keep drive modest and let the transient rounding do the work — kick and snare feel weightier. For glue, lean a little harder so the compression pulls the kit together. Faster tape speeds keep the low end tighter; slower speeds add weight and movement. Why speed changes the low end: how the engine models head bump.
Drums are the easiest source to hear tape on. Learn the controls here first.
Should I tape individual drums or the whole bus?
The bus is the high-impact move because the glue acts on the kit as a whole. You can also print tape onto a standalone loop so a sample sounds like it came off an old record before you build around it.
Will it make my drums distorted?
Only if you push it that far. At moderate settings you get punch and glue; the harmonics stay musical. Oversampling keeps them clean.
Put Tape Machine or Tape Compressor on the drum bus.
Next step
Download the pack. When a song is done, master it through tape with Tape Mastering.