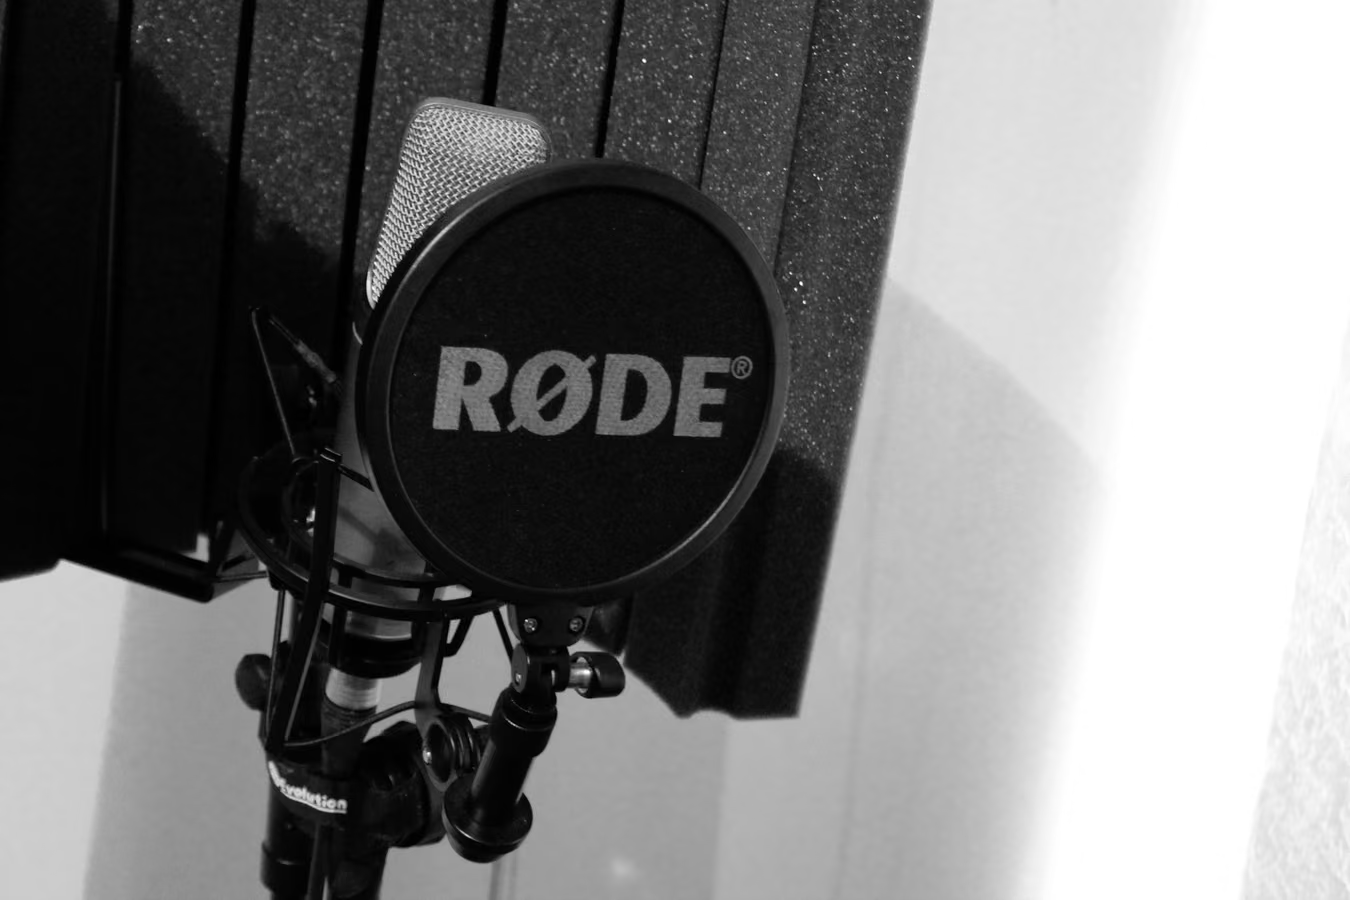
Thin, brittle vocals are the most common home-studio complaint, and they respond fast to a little analog tape character. Tape thickens the voice, smooths harsh highs, and helps it sit in the track. Put Tape Machine on the vocal in your DAW and start with gentle settings.
Why do home-studio vocals sound thin or harsh?
Digital vocal chains capture everything, including the unflattering parts: razor-sharp sibilance, a brittle top, and a thin mid that leaves the voice sitting on top of the mix. Analog tape adds gentle harmonics and a natural high-frequency softening that meet those problems head-on.
How to warm up a vocal with tape, step by step
- In the DAW — put Tape Machine on the vocal and start gentle.
- Add drive slowly — push until the voice feels fuller and the edge softens; stop when the color gets obvious.
- Match the bypass: bypass the plugin and compare at the same level.
Hear it before you read more
Download the pack, or play the before and after samples.
How much is too much?
On a lead, quiet wins. You want a voice that sounds finished — warmer, smoother — with the effect still in the background. Save heavier character for backgrounds, adlibs, or a deliberate lo-fi aesthetic. Why this works: taming digital harshness with analog tape.
If you can hear “tape” on a lead vocal, back it off until you only notice it on bypass.
Does tape replace a de-esser or EQ?
Tape’s high-frequency softening does a lot of the work. You can still de-ess or EQ afterward if a few sibilant peaks remain.
Can I do this without buying anything?
Yes. Tape Machine is free to download and run on the vocal in your DAW. More places to use it: tape for home-studio musicians.
Put Tape Machine on the vocal, then master the finished song through tape with Tape Mastering.
Next step
Download the pack. When a song is done, master it through tape with Tape Mastering.